
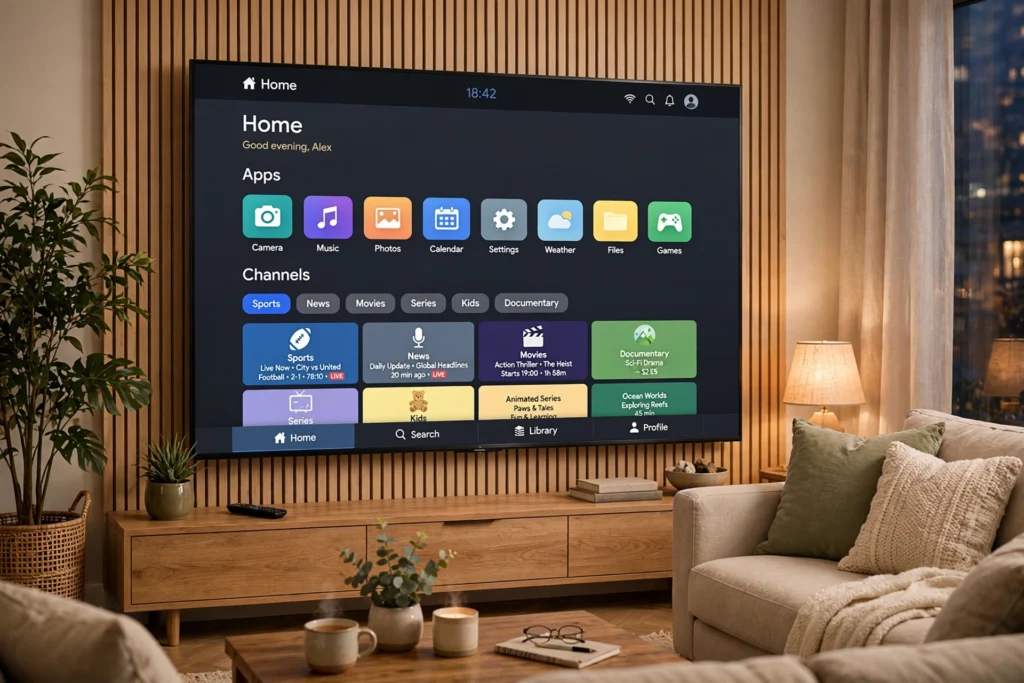
In short: IPTV on Android TV and Google TV follows the same basic route — install a player from the Play Store, add your service details, and let the guide load — but the home screen, the settings menus, and the way you find that player are different. Once you know which interface you have, setup takes minutes, and a few settings are what turn a list of apps into something that feels like cable.
Is IPTV legal in the USA? Read our guide before you subscribe.
At a glance
Android TV is the older, app-row home screen found on many smart TVs and boxes. Google TV is the newer, recommendation-led home screen found on newer TVs and on Chromecast with Google TV. Underneath, both run Android TV apps, so the same player route works on both — you just find things in different places. If your TV’s home screen shows rows of recommendations and a “For you” feed, you are almost certainly on Google TV; if it shows a top row of apps and a simpler grid, you are probably on Android TV. Either way, the setup below works — watch for the notes that say where the two differ.
Android TV vs Google TV for IPTV
| Android TV | Google TV | |
|---|---|---|
| Home screen | App rows, less recommendation clutter | Recommendation feed, “For you” rows, more to scroll past |
| Finding a player | Open the Play Store app, search, install | Search from the home screen or open the Play Store, search, install |
| Settings location | Settings gear, usually top-right | Profile picture, then Settings |
| Best for | Viewers who want apps front and centre | Viewers who like recommendations and already use Google services |
| IPTV route | Same: Play Store player + service details | Same: Play Store player + service details |
Do not buy a new TV just to switch between them — the IPTV experience is decided by your player, your connection, and your subscription, not by which of these two home screens you have. Our Firestick vs Android TV Box guide covers the wider stick-versus-box choice if you are still deciding on hardware.
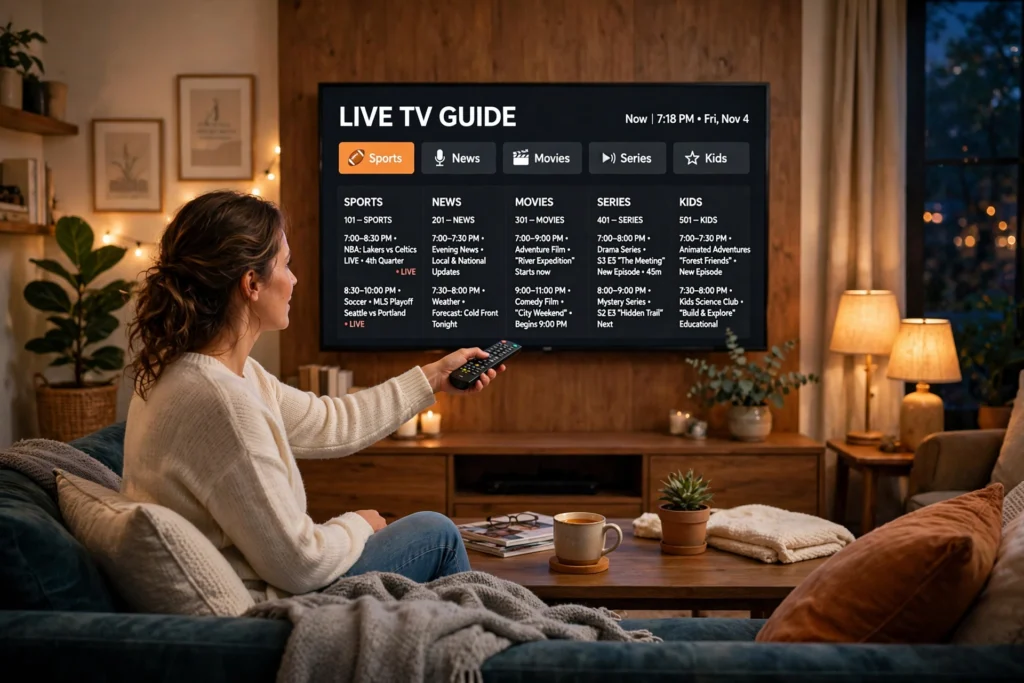
Setup in order
Work through these steps once, in order. The differences between Android TV and Google TV are flagged inside each step, so you do not need a separate guide for each.
- Connect the TV or box to your router with Ethernet if you can. On a TV, that usually means a cable to the back panel; on a box, the same. Wi-Fi works, but live sports will expose a weak signal first.
- Open the Play Store. On Android TV, open the Play Store app from the apps row. On Google TV, use Search on the home screen or open the Play Store app — either route reaches the same store.
- Search for an IPTV player and install one that supports the login method your provider gave you, whether that is a playlist or a portal login. Check the player in your own TV’s store — availability varies by TV brand and model, so do not assume a player you saw on another TV is on yours.
- Open the player and add your service details exactly as given. A playlist address or portal address with one wrong character will load nothing, so paste it where possible instead of typing it.
- Let the channel list and guide load fully. The first load can take several minutes on a large channel list — wait for it before you judge the guide.
- Open a live channel, then the guide, then a movie or series. If live TV works but the guide is blank, reload the guide inside the player before you change anything else.
Make it feel like cable — the settings that matter
The difference between “an app on my TV” and “my TV service” is usually four settings, not a new device.
- Put the player first: move the IPTV player to the front of the apps row (Android TV) or add it to your favourites (Google TV), so live TV is one click from the home screen, not a search every time.
- Set the guide to load on open: in the player settings, allow the guide and channel list to refresh when the player opens, so you are not staring at yesterday’s listings.
- Fix the time zone: if guide times look wrong, check the TV’s time zone and automatic time settings first — a wrong time zone makes a correct guide look broken.
- Turn off extra processing for live TV: if motion looks smeared on sports, try the TV’s standard or sports picture mode before you blame the stream.
- Keep the player updated, but do not update ten things at once: update the player, test live TV, and only then change another setting, so you know what fixed or broke anything.
The 5-minute test
Run this test during a free trial, at the time you normally watch, not at midday when the network is quiet.
- A live sports channel plays without freezing for two full minutes.
- The guide loads and shows the right programme for the current time.
- A news channel and a movie or series title both open cleanly.
- Switching between three channels takes seconds, not a restart.
- A second TV or phone on the same connection does not knock the first TV offline — if it does, check your connection count before you blame the TV.
On USA IPTV Live, a free trial is available via WhatsApp, with 24/7 support and no long-term contract, so you can run this exact test before you pay. The service offers 27,000+ channels and 80,000+ movies and series in 4K/HD. Plans are $13 for 1 month, $32 for 6 months, and $62 for 12 months on 1 connection; $16, $40, and $75 on 2 connections; and $20, $50, and $95 on 3 connections. As a guide only, not a guarantee, allow about 25 Mbps per 4K stream, with 50+ Mbps of headroom for a household watching more than one stream at once.
If the test passes, you are done — keep the player where you can reach it in one click and enjoy the evening. If it fails, work in this order: connection first, then the player and guide reload, then the service itself. Changing all three at once is how a small fault turns into a long evening.
For other screens, see IPTV on Roku USA and the Samsung & LG guide.